
How the Lake Floor system clears hydrilla for good.Lake Austin hydrilla control, step by step.
Cutting hydrilla is a haircut: it grows back from what's left on the bottom. The Lake Floor system clears your zone and then covers the lake floor so the plant can't come back.
Six steps from choked water to a clean lake floor.
- 1
Free waterfront assessment
Phil walks your shoreline, checks depth and how dense the hydrilla is, and maps pilings, boat lifts, ladders and pump intake lines. You get a clear recommendation and a written quote. No obligation.
- 2
Permit & layout
Hydrilla work in Texas public waters needs Texas Parks & Wildlife approval. We prepare the paperwork and design a barrier layout sized to how you actually use the water: swim zone, slip, launch, or all three.
- 3
Clear the existing growth
Standing hydrilla is cut and pulled from the install zone. Fragments are bagged and hauled off-site so they can't drift and root somewhere else, including your neighbor's dock.
- 4
Install & anchor the barrier
Barrier panels are laid on the lake floor, fitted around pilings and lift cradles, and anchored so they stay put. With no light reaching the bottom, the plants underneath can't grow back.
- 5
Optional sand finish
For swim areas and beach entries, a layer of clean sand goes over the barrier for a soft, natural floor that feels good underfoot.
- 6
Seasonal check-ins
Silt settles on every lake bottom over time. Periodic inspection and cleaning keeps your zone clear season after season.
Hydrilla, barrier, sand.
Hydrilla roots in the lake bottom and grows toward the light. Covering the bottom takes away the light and the rooting surface in one move.
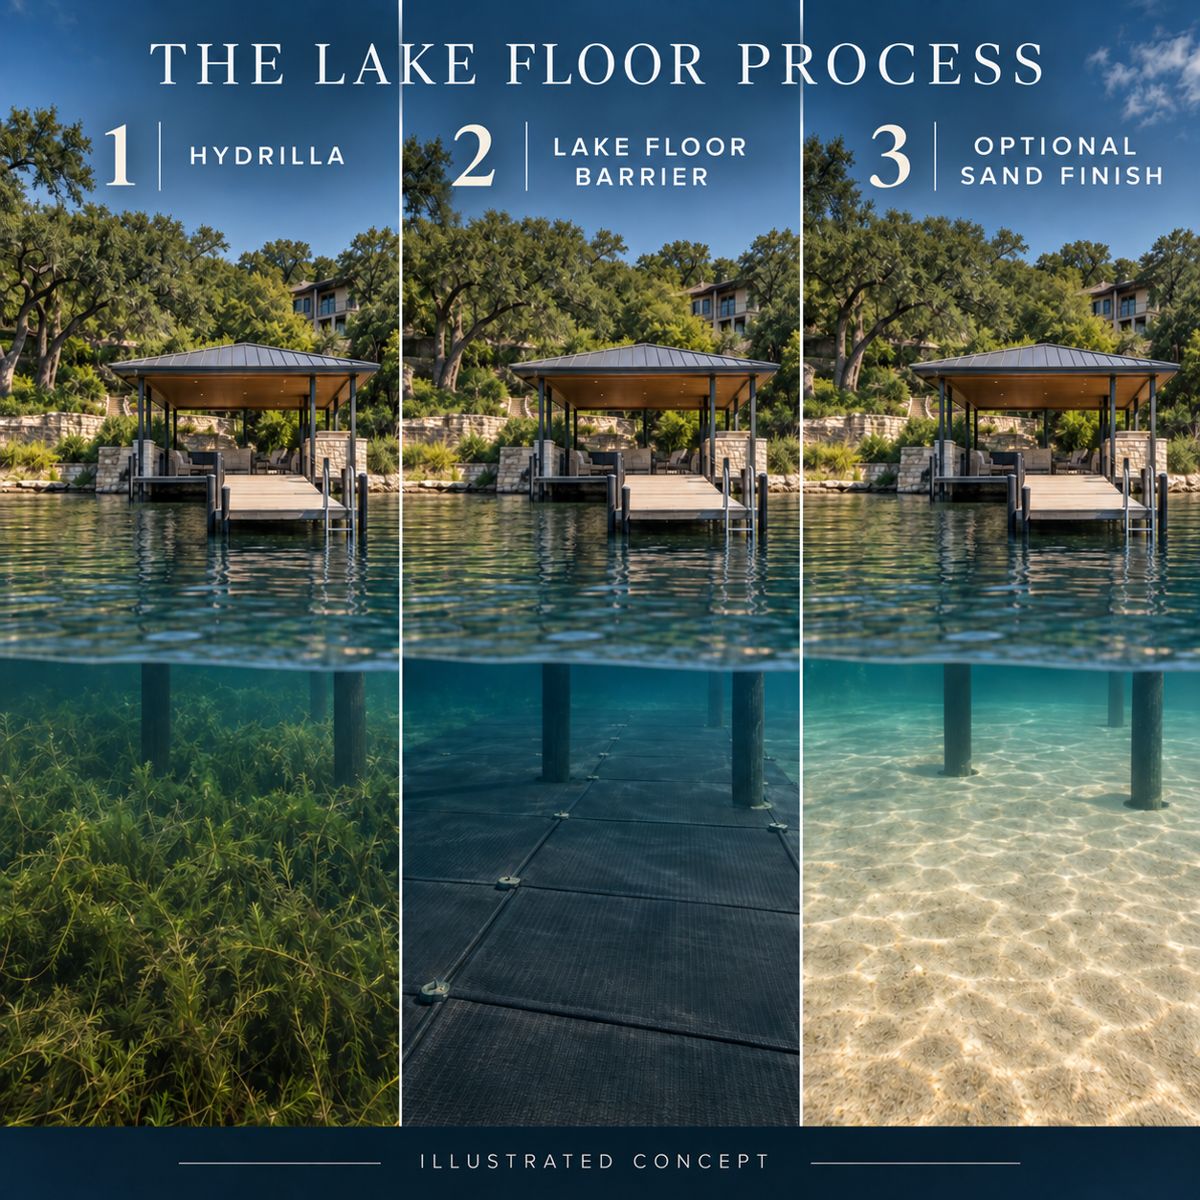
Barrier only, or barrier with sand.
Both clear the hydrilla. The sand finish adds a soft, beach-like floor for swim areas and shoreline entries.
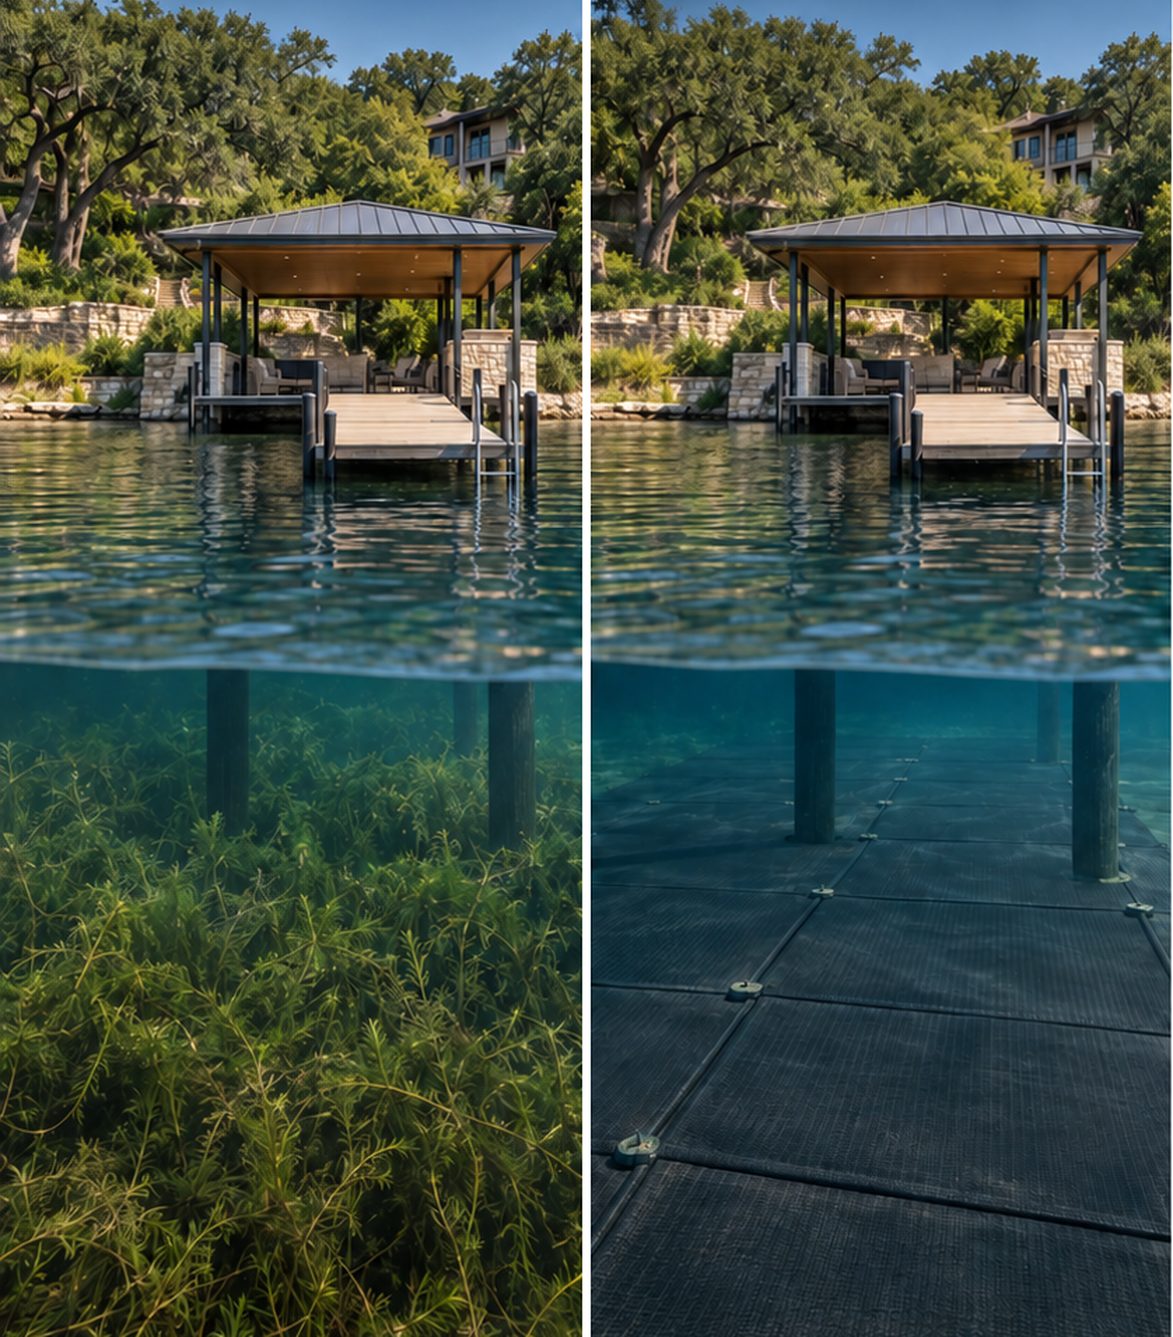 BeforeAfter
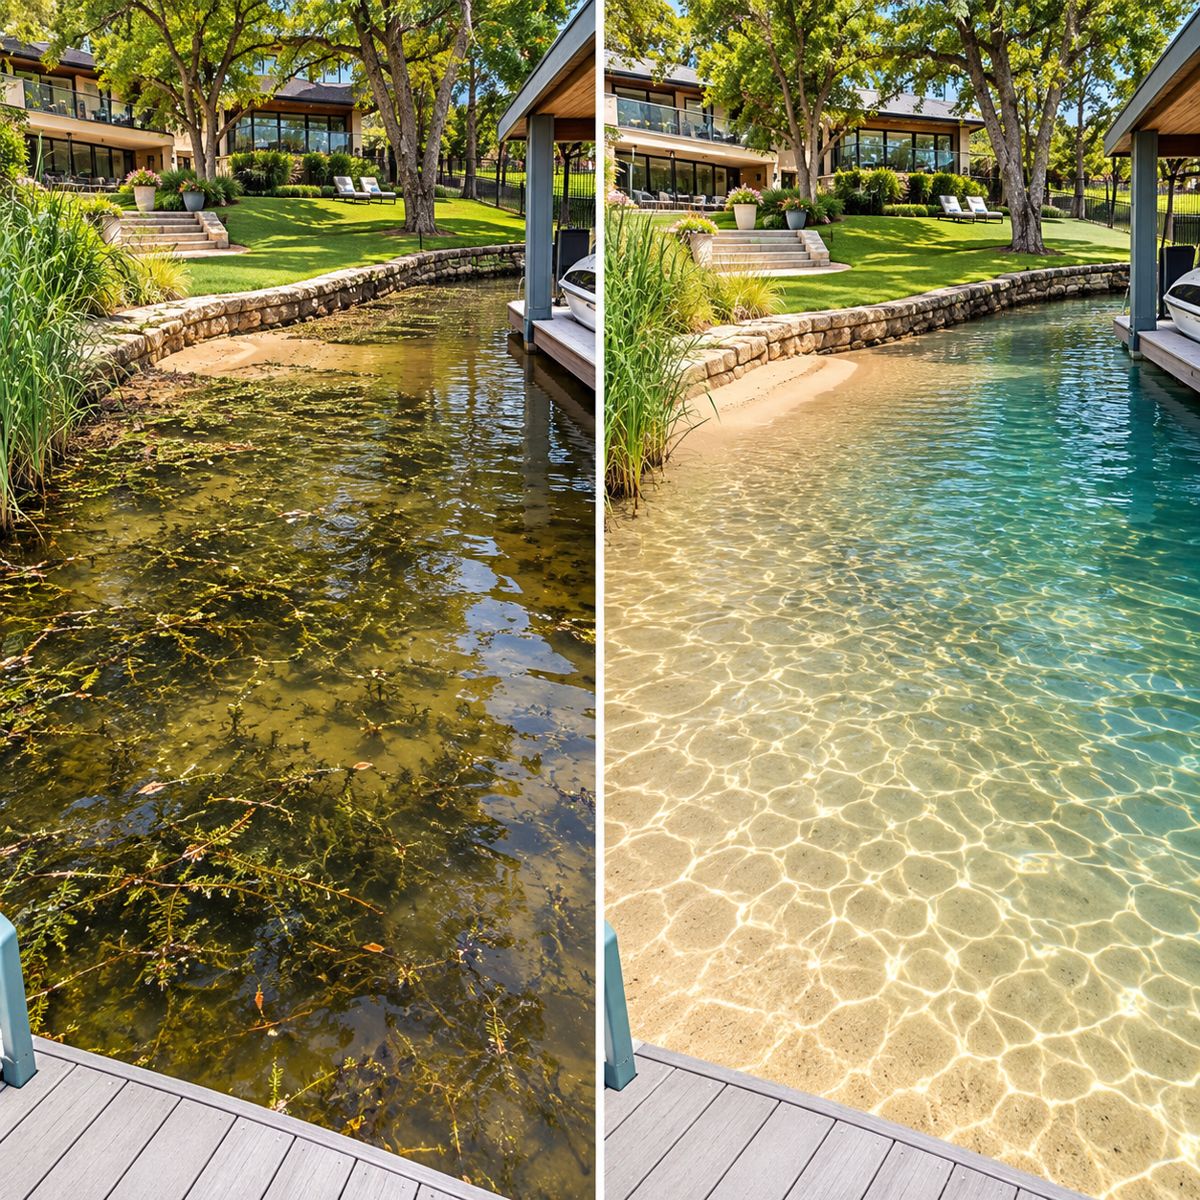 BeforeAfter
Cutting vs. herbicides vs. a lake floor barrier.
On Lake Austin, the choice is simpler than you'd think: herbicides aren't allowed, and cutting doesn't last.
| Hand-cutting / raking | Herbicides | Lake Floor barrier | |
|---|---|---|---|
| How long it stays clear | Weeks. Regrows from roots, tubers and fragments | Not an option on Lake Austin | Stays clear across seasons with periodic inspection |
| Allowed on Lake Austin? | Yes, by a TPWD-permitted contractor | No. The lake supplies Austin's drinking-water plants | Yes, with TPWD approval (we handle it) |
| Swim-area feel | Stubble and muck underfoot | — | Smooth floor, optional sand finish |
| Best for | Quick one-time cleanups | — | Docks, boat slips, swim areas and beach entries |
Designed for real waterfronts.
Docks & boat slips
Fitted around pilings and lift cradles so the slip stays clear and props stay clean.
Swim areas & beach entries
The most popular spot for the sand finish: a clean, comfortable floor right off the shore.
Paddleboard & kayak launches
A clear path out from the shoreline so boards and fins don't drag through weeds.
Common questions about the process.
Will it interfere with my dock, boat lift or lake pump?
No. Barriers are cut and fitted around pilings, lift cradles, ladders and intake lines during installation, and the layout is planned during your on-site assessment.
How long does a lake floor barrier last?
Barriers are built to stay in place across seasons. Silt settles on any lake bottom over time, and loose fragments can try to root in it, so periodic inspection and cleaning keeps the zone clear.
Can you install if the hydrilla is already thick?
Yes. We clear the existing growth in the install zone first, bag the fragments and haul them away, then lay the barrier.
When is the best time to install?
Any time the water is workable. Installing before the late-spring growth surge keeps your area clear all summer, but we install year-round, and clearing a thick mid-summer patch makes an immediate difference.